Search
How do I apply a border or frame to my photos?
You can add borders or decorative frames to your images in two different ways — either with a simple colour border or one of our pre-designed frames.
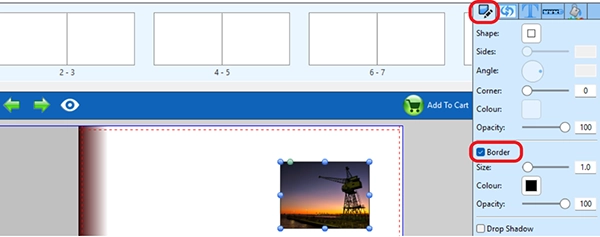
To add a simple coloured border:
Click on the photo you want to edit
Click the pencil icon at the top of the right-hand column in the editor
Tick the box next to ‘Border’
Adjust the border size, colour, and opacity using the settings that appear below
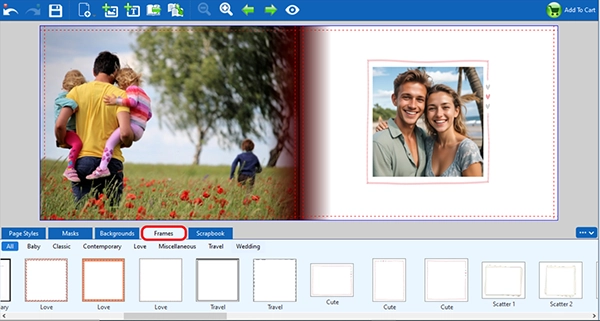
To use a pre-designed decorative frame:
Click the ‘Frames’ tab at the bottom of the editor
Drag and drop your chosen frame onto any photo in your project
Watch our tutorial: How to Add Borders or Frames to Your Photos