How To Make

using the Download Editor

For more helpful tips, visit our video tutorials

1. Download our Editor

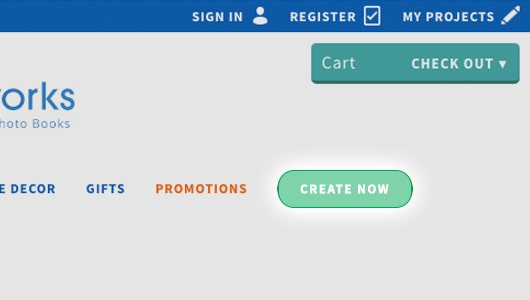
If you haven’t already, click "CREATE NOW" at the top of the page. Enter your details then click ‘DOWNLOAD OUR FREE EDITOR’. Once downloaded, open the setup file to install the program on your computer. Once installed, you can return to the Editor at any time. Just look for the albumworks logo on your desktop (PC) or in your Applications folder (Mac).

If you have problems installing the Editor, see this step through process

For more details see our FAQs or watch our detailed tutorial here.

2. Select your Photo Book type

Open the Editor and click ‘START NEW PROJECT’. Our Editor wizard will take you through choosing your Photo Book binding, theme, size, orientation and cover type Our best selling size is the 11 x 8.5" Landscape - not too big and not too small!

3. Upload your Photos

Next you’ll be asked to upload your photos. Upload images directly from your computer or import them from Facebook, Instagram or Flickr. We recommend organising your photos into folders before starting, but you can upload more photos later. Click on the white "+" symbol for import options and follow the prompts.

4. Drag and drop your photos

Putting your photos onto the pages of your Photo Book is as simple as dragging and dropping them. You can make them bigger and smaller, enlarge and crop.

5. Apply design features

Add backgrounds, masks, frames, scrapbooking and lots of other design features to your Photo Book, just by dragging them onto the pages. You’ll find these options in the tabs at the bottom of the page.

6. Add text to your pages

Adding text throughout your book is simple! Click on the "T" symbol in the tool bar and a text box will appear on your page. Customise your text by changing the font, colour and size in the far right hand panel. You can save your text style to use throughout the album.

7. Add extra pages to your Book

All Classic and Layflat Photo Books come with 40 pages as standard. You can add more pages by clicking on the "Page Options" button on the toolbar. You can have up to 200 pages in Classic Books and up to 140 pages in Layflat Books.

8. Review your project

Once you have finished designing your Photo Book you should carefully review it using the "Preview" feature - click on the white "eye" button on the toolbar. Be sure to double check your spelling, and ensure all important content is well within the red lines on the page.

9. Proceed to the Shopping Cart

Once you’re finished, go to checkout by clicking the green Shopping Cart in the top right corner. The Editor will check for any warnings or errors with your project before opening the Shopping Cart. Follow the Editor prompts and it will open a new web page for you to place your order. If this is your first order with albumworks you will need to create an account at this stage.

10. Order your product

After logging in, simply follow the prompts inside the Shopping Cart to order your product! Add finishing options that are available for your product or upgrade your printing to Hi Colour.