Photo Book Tips - Scanning Photos
MARCH 10TH, 2023
.jpg)
Want to know how to get the best print results from old family photos?
When it comes to preserving your family photos in a Photo Book, it’s important to use high quality digital photos to get the best print results. In this article, learn about different scanning tools that are available and how to scan your photos to produce crisp, clear digital images that are perfect for printing.
What method should I use to scan my photos?
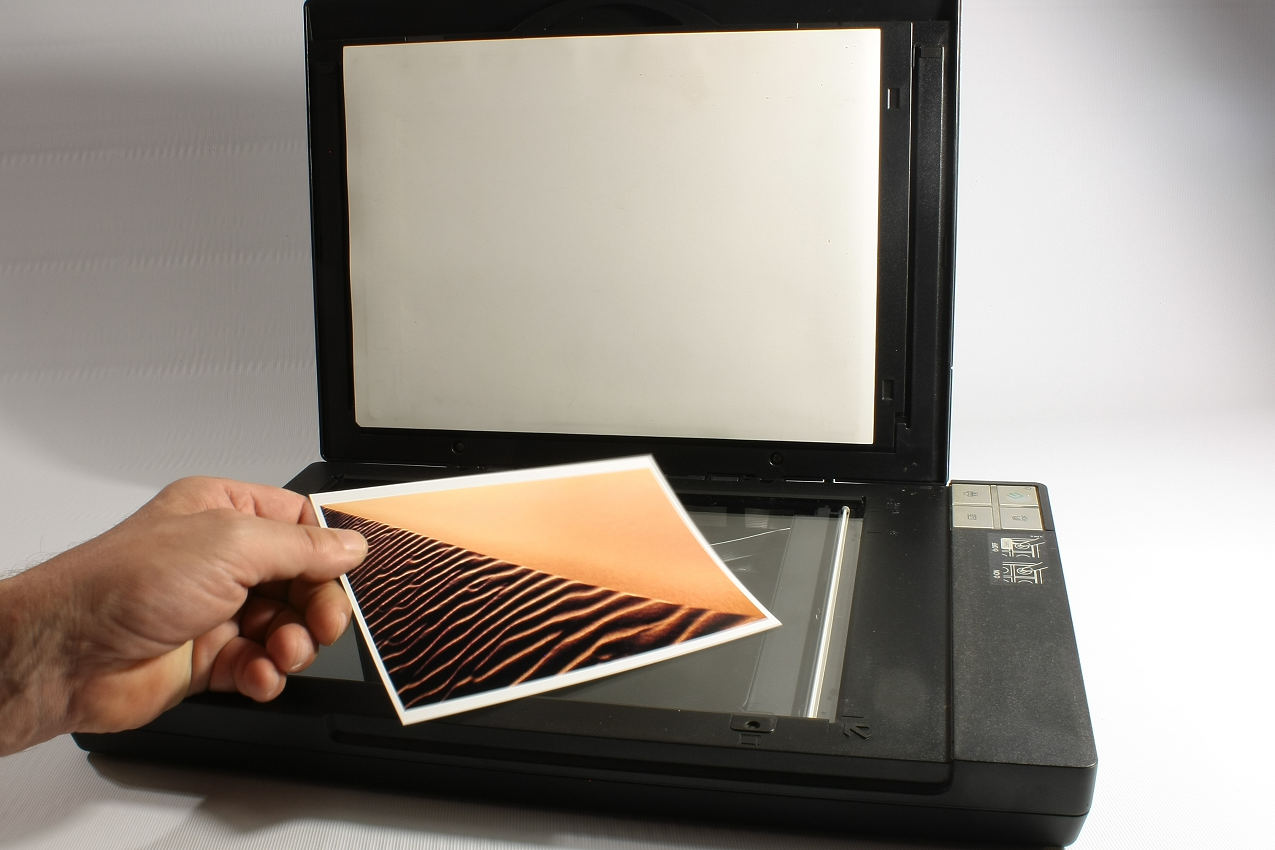
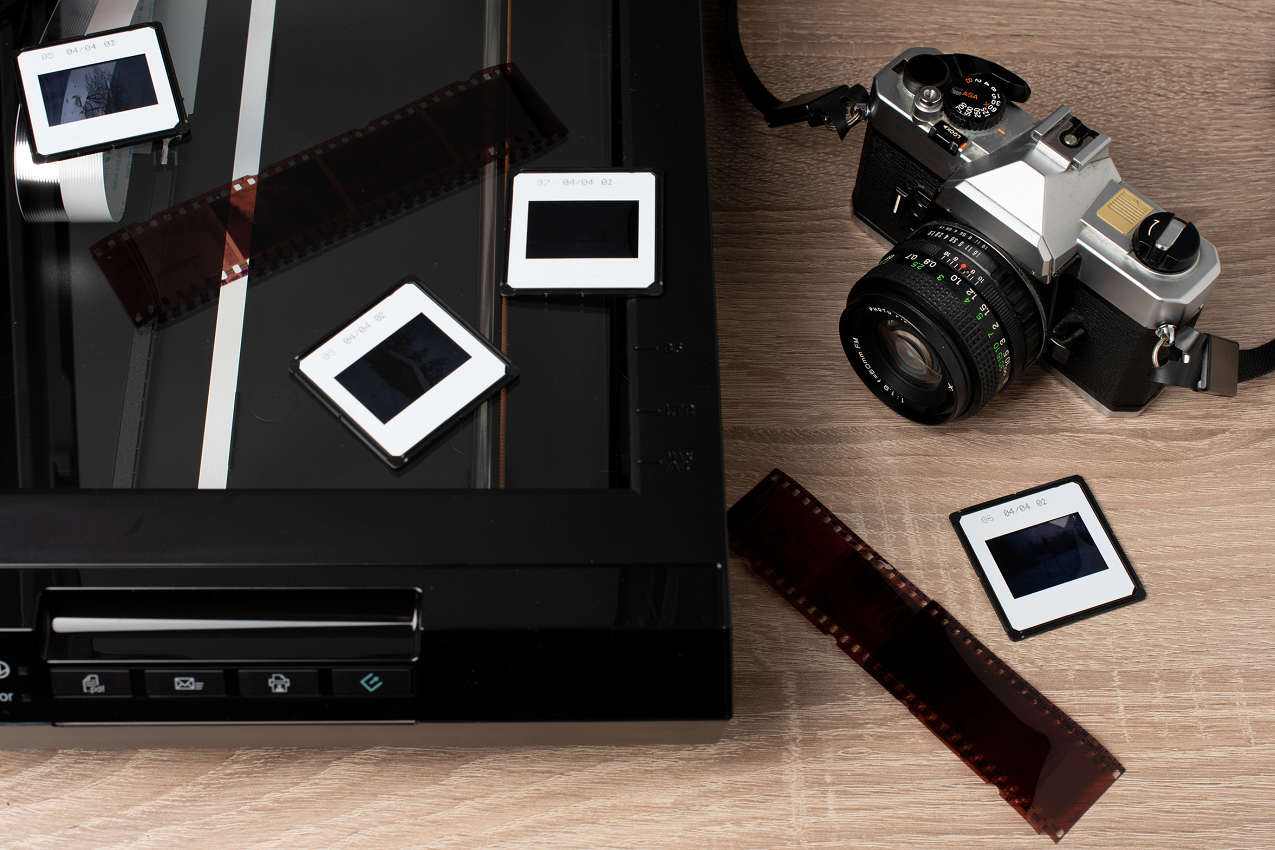
1. Flatbed Scanner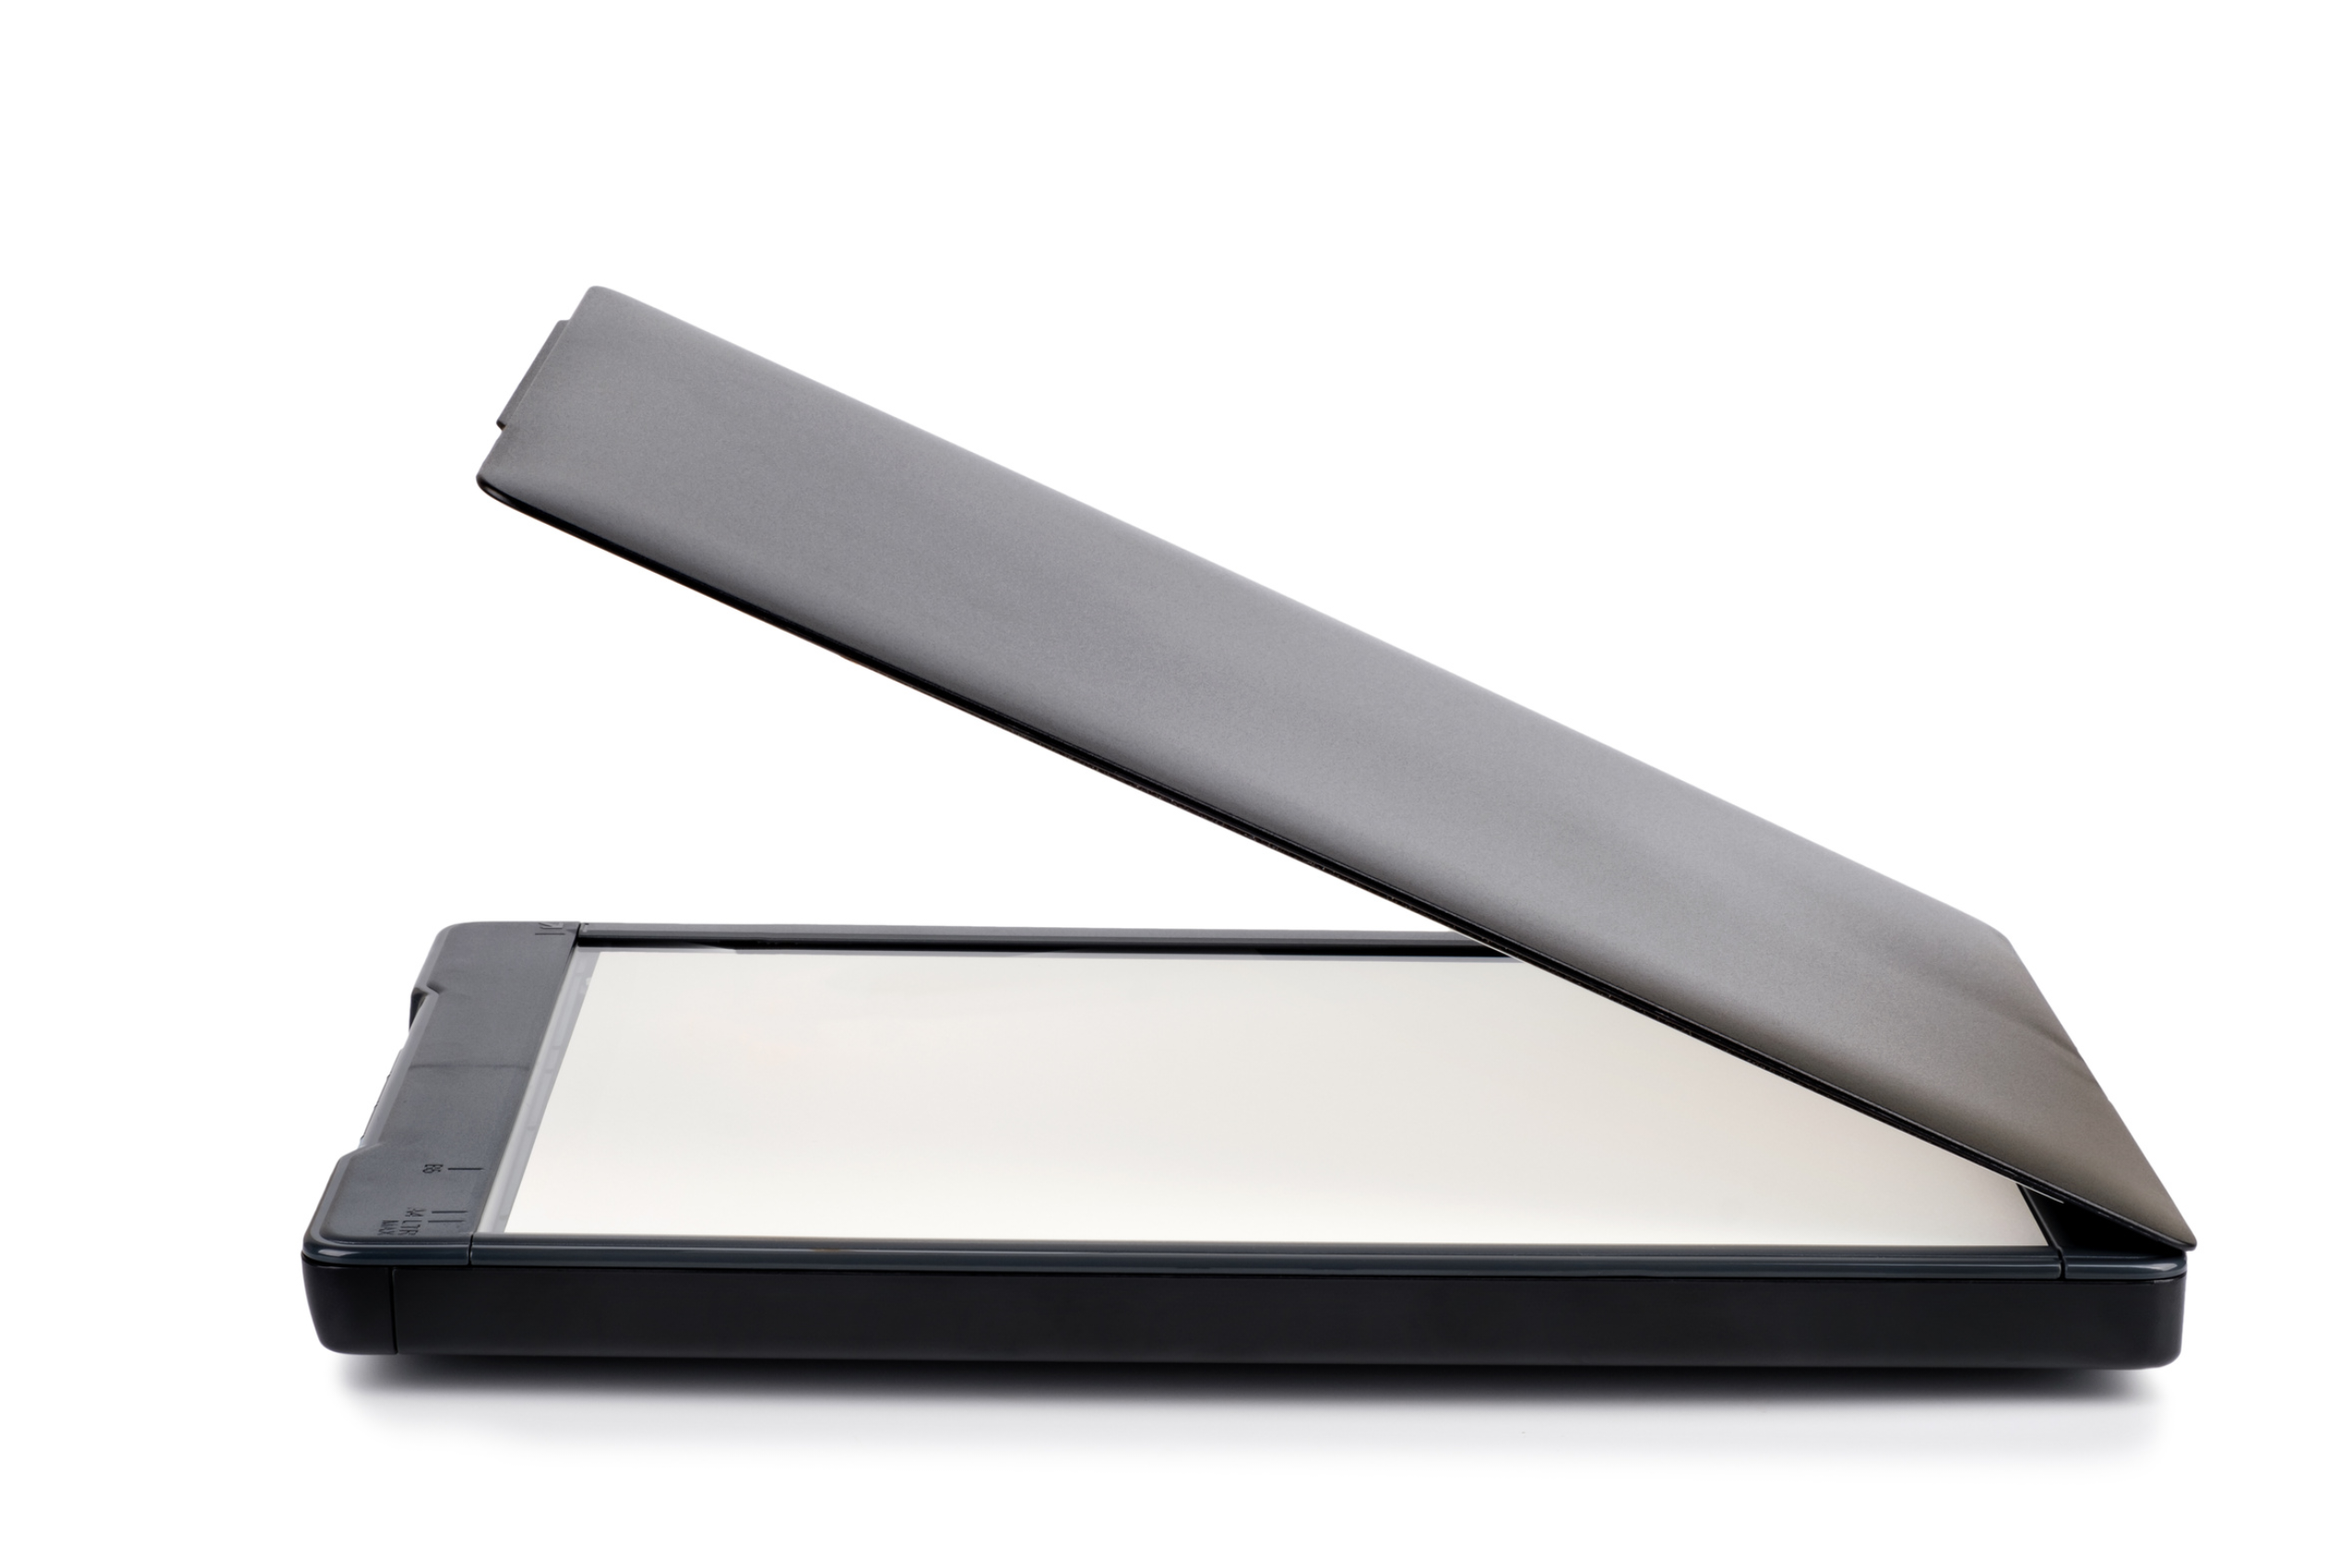
A flatbed scanner has a flat glass surface where you place your photo face down on the glass. The scanning mechanism then moves over the photo and captures a digital image. Many modern digital multi-function printers have the ability to also scan photos and documents. Flatbed scanners are great for scanning photos, slides, negatives, and documents. They are easy to use, and produce excellent high quality images. However they can be a bit slow if you have a large quantity of photos to scan.
2. Dedicated Photo Scanner 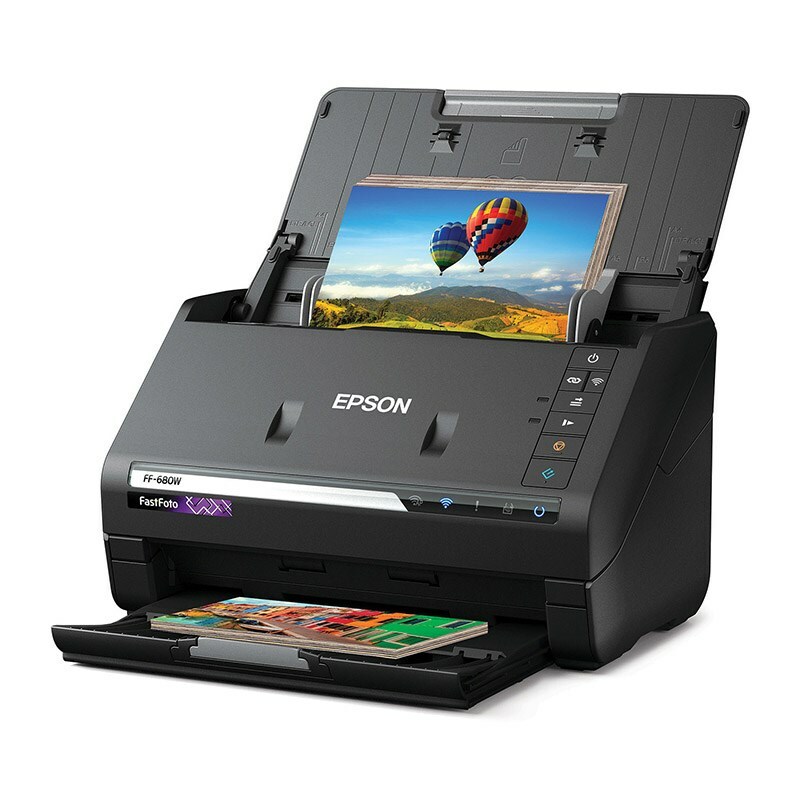
This is a great option if you have lots of photos to digitise. These scanners offer high image quality and color accuracy and may allow you to scan multiple photos in a batch. They may also come with additional features such as automatic dust and scratch removal, color restoration, and image enhancement. In general, they are more expensive than flatbed scanners but better value than using a professional photo scanning service.
3. Phone Scanning Apps 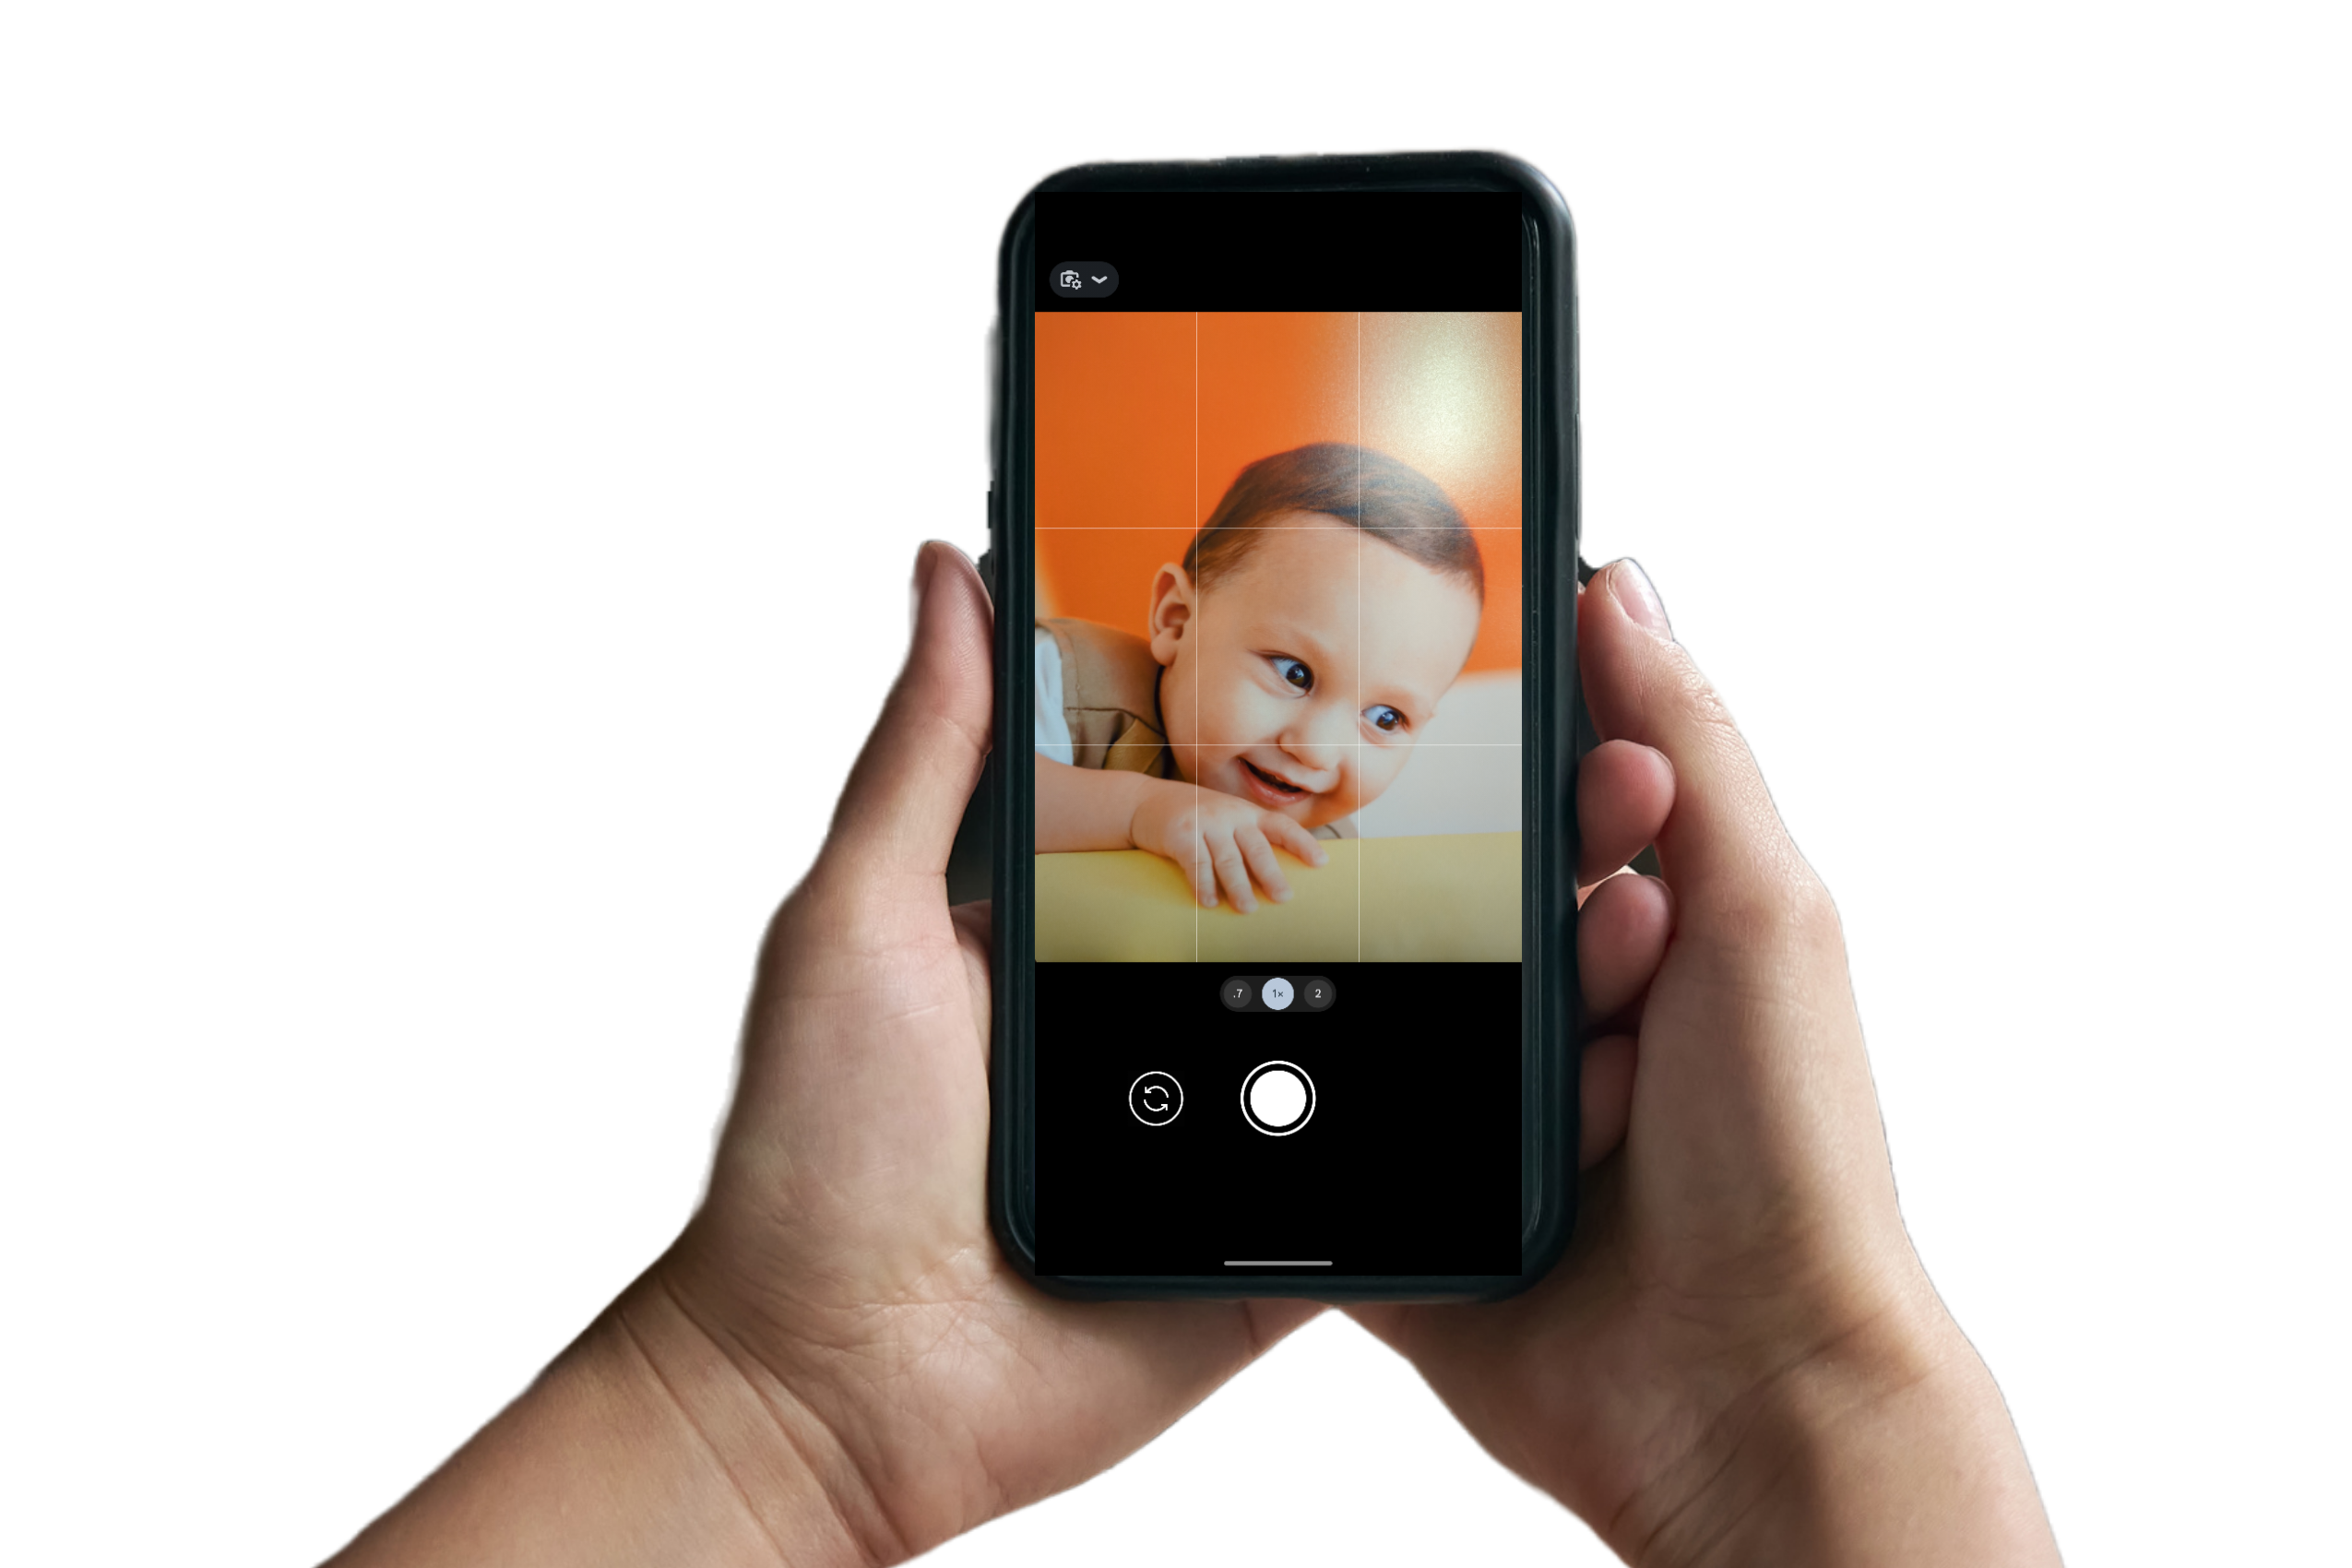
There are several Apps that allow you to use your smartphone camera to scan physical photos, converting them into digital format. Some Apps also provide features such as cropping and adjusting brightness and contrast. A couple of good Apps to try are Photomyne and Google PhotoScan. This is a quick, portable way to scan your photos but again, be careful to scan at a high resolution.
4. Photo Scanning Service
If you have lots of photos to scan and don’t have the time or technical knowledge to do the scanning yourself, there are companies such as Officeworks who specialise in digitising photos. They use professional-grade scanners and software to produce high-quality digital images.
How should I scan to get the best results for printing?
1. Choose the right scanner
The above information should help you to choose the scanner to suit your needs.
2. Adjust the scanner settings
For photos, it’s best to set the scanner to scan at 600dpi. This will capture more detail and produce a clearer image. It will also allow you to enlarge a photo on the page of your Photo Book. For documents such as newspaper articles, you can use a lower resolution (say 300dpi), since text is not as detail-sensitive as photos.

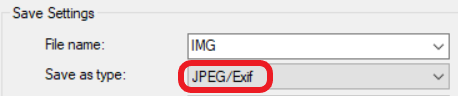
Also set the file output format to be JPEG at 100% Quality, as this is the most recognised photo file format and can be used in our Editor.
*We recommend testing the scanning output for one photo to make sure it is suitable, before scanning the rest of your photos. You can do this by placing the image into an albumworks project. Our editor will give a warning if the image is low quality.
3. Clean your scanner glass
Whichever method of scanning you choose, make sure the glass or lens is clean. Dust and smudges can affect the quality of your scans. Please consult your product manual for the recommended cleaning method.
4. Position and lighting
Make sure your photo or document is straight and free of wrinkles or creases. Place your photo in natural light, avoiding any glare or shadows.
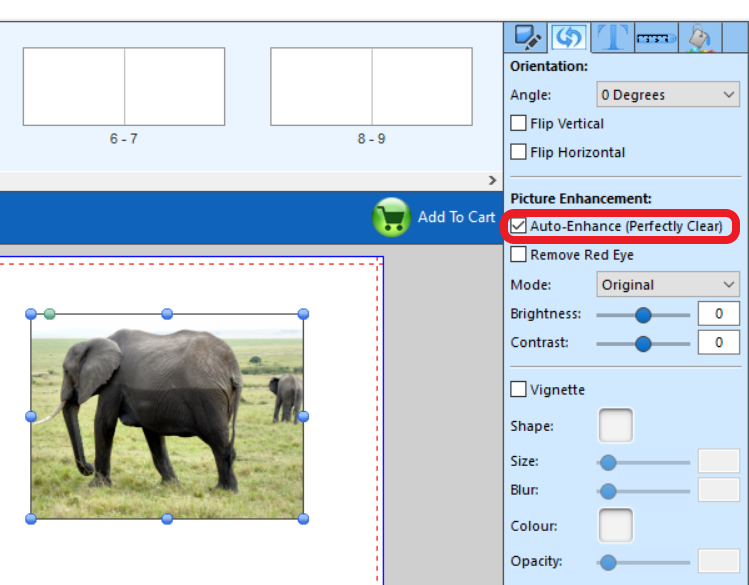
5. Edit and enhance your scans
Once you have scanned your photos, you may want to use editing software to improve the quality of your scans. You can use tools to correct color, adjust brightness and contrast, and remove any scratches or blemishes. Our Editor has a quick solution for this called ‘Auto Enhance (Perfectly Clear)’ which you can use to auto adjust your photos for printing. Learn how to use the Auto Enhance feature here - https://www.albumworks.com.au/auto-enhance.